Hi everyone! I thought it might be helpful for some (or many) of you to have an easy and not-much-hands-on-time no knead bread to make right now. Many of us are busy now with our kids and their school work at home, or with working from home, or any number of things. Bread is still a major staple for most of us and going to the store to buy some may not be the best idea right now or it may be less available at the store. There are also some who haven’t yet learned to make bread the traditional kneading way, so I think this no knead bread recipe is perfect at this time for many reasons.

What is No Knead Bread?
So, what exactly is no knead bread? As the name suggests, it’s a bread-making technique that eliminates the need for tedious and time-consuming kneading. Developed by renowned baker Jim Lahey, this method has captivated home bakers worldwide with its simplicity and incredible results.
The secret lies in the long fermentation process, allowing the dough to develop complex flavors and a light, airy texture, all without the need to knead. By simply combining a few basic ingredients – flour, water, yeast, and salt – and allowing the dough to rest for an extended period, you can achieve professional-level bread without any special equipment or skills.
Homemade Bread is… Convenient?
One of the greatest advantages of no knead bread is its convenience. Traditional bread-making often requires a considerable investment of time and effort, but with this technique, you can easily fit baking into your daily routine. Whether you’re a working professional, a busy parent, or someone who simply wants to enjoy freshly baked bread without the hassle, no-knead bread is the solution you’ve been waiting for.
Not only does no knead bread save you time and effort, but it also guarantees exceptional results. The slow fermentation process enhances the bread’s flavor, creating a tantalizing aroma and a delightful taste that will rival that of your favorite bakery. The crust is perfectly crisp, while the crumb is soft, moist, and filled with small air pockets – the hallmark of a well-made loaf.
No knead bread allows for endless creativity in the kitchen. Once you’ve mastered the basic recipe, you can experiment with various flours, adding seeds, herbs, or even dried fruits to create your own unique flavors. This technique empowers you to become a true artisan baker, impressing your family and friends with a wide range of delicious homemade breads.
Our Favorite Recipe
My family and I fell in love with this bread a few months ago and I make it pretty regularly now. You can click here to see my Garlic Herb No Knead Bread recipe and why I like the no-knead method so much. In that post I explain how the gluten still develops on its own without kneading.
I like to think of this plain version as a quick sourdough bread because as it sits for 12-18 hours with a very small amount of yeast, it’s collecting wild yeast and developing amazing flavor. But don’t let me saying that I think it’s a quick sourdough deter you if you don’t like sourdough because it’s definitely mild. And let me tell you this: this bread recipe makes the most amazing french toast. Cut it about 1 1/2 inches thick and use it for the best french toast breakfast you’ve ever had.
I hope you give this bread a try soon!
Ingredients
3 cups bread flour*
1/2 tsp active dry yeast
1/2 tsp sea salt
1 1/4 cups warm water
- The night before you plan to bake the bread, combine the flour, yeast, and salt in a large mixing
 bowl. Pour in warm water and stir until a loose, shaggy dough forms. Shape the dough into a ball, cover the bowl tightly with plastic wrap, and let it rise on your counter overnight (12-18 hours) in a warm place, away from drafts.
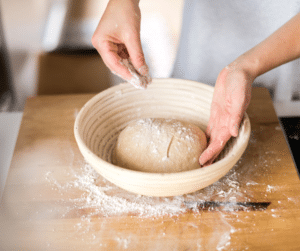
 - Once the bread dough has doubled in size, about 2 hours before baking, transfer it onto a floured surface and shape it into a smooth ball using your hands. Place the dough ball on a piece of parchment paper, on top of a clean dish towel. Gently cover the ball with the towel and let it sit until you’re ready to bake.
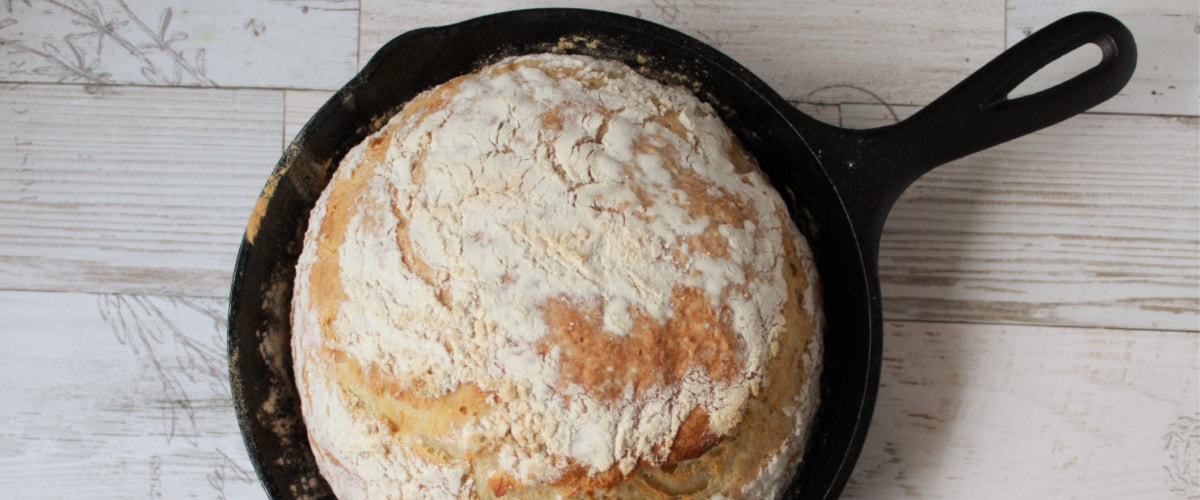
- When you’re 30 minutes away from baking, preheat the oven to 450 F and place a Dutch oven or baking stone inside. After 30 minutes, use oven mitts to remove the Dutch oven from the oven and carefully place the dough ball, still on the parchment paper, into the vessel. You can make a small cut on the top of the bread to release steam.
- Cover the Dutch oven with its lid and put it back in the oven to bake for 30 minutes. After that, remove the lid and reduce the oven temperature to 375 F. Bake for an additional 15 minutes.
Take the bread out of the oven and let it cool for approximately 20 minutes before slicing and enjoying!


Leave a Reply