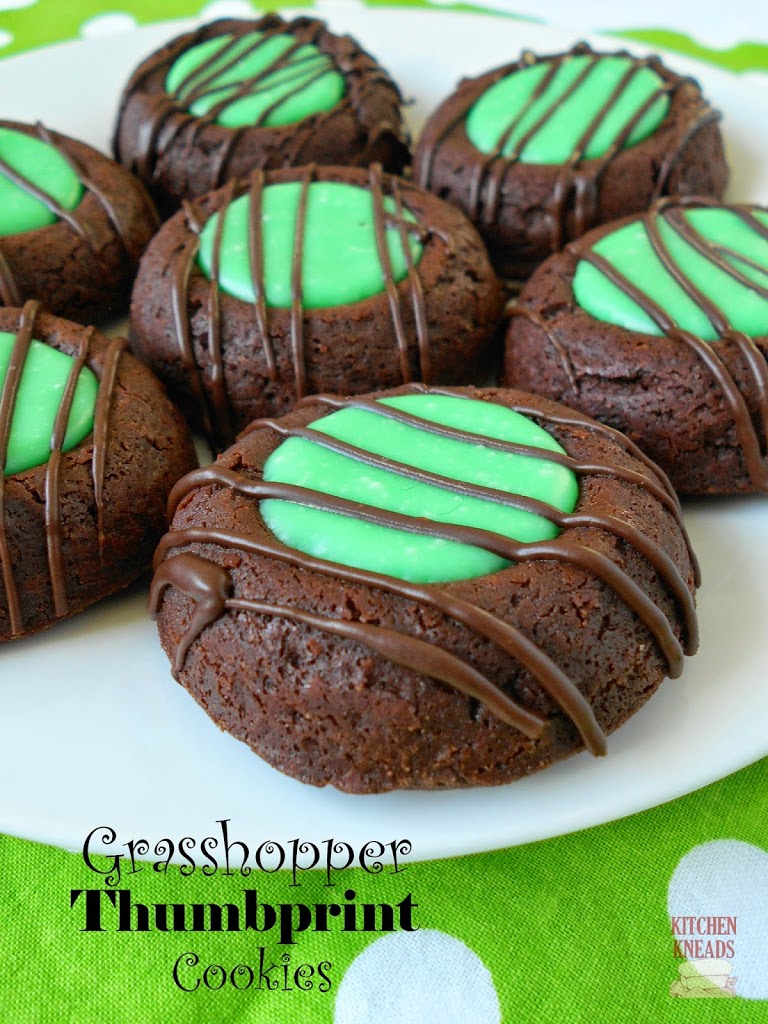
Some of the reactions I get when I make Grasshopper Thumbprint Cookies
“What? Did YOU make these?”
It might surprise you how going just one or two baby steps farther than the average person can make the average person oogle or squirm at the sight of something they are too afraid to attempt. You know, such as melting chocolate or using a new kind of cookie pan.
The truth is, we are all a little guilty of leaving desserts in the boring yet comfortable doldrums of commonness. But you, you have decided to scale the hills and take a step that your friends and family are too afraid to take.
You have decided to throw caution to the wind and follow a different recipe than you usually do. Step aside chocolate chip cookie, we introduce the grasshopper thumbprint cookie.
With a taste that may surpass the girl scouts, ingredients that you already have, and a new piece of hardware that won’t be put in the dark corners of your cupboard, this cookie looks fantastic, yet still overproduces with flavor.
A lot chocolatey and a little minty, these cookies will definitely keep you coming back for more. And what’s more, we have a special cookie pan to bake them in that already has that thumbprint indentation for you. It’s a nonstick filled cookie pan and it looks like this:
Pretty nifty, huh? All you have to do is press your cookie dough into each cavity, bake them, and fill them. You’ll have perfectly shaped and perfectly uniform cookies every time. You can find these pans in our store.
Grasshopper Thumbprint Cookies
- 4 oz high quality dark or semisweet chocolate, coarsely chopped
- 3 drops peppermint flavoring oil
- 1 cup butter, softened
- 1/3 cup granulated sugar
- 2 T brown sugar, packed
- 2 egg yolks
- 1 tsp vanilla extract
- 1 1/2 cups flour
- 1/2 cup dutch process cocoa powder
- 3/4 tsp salt
For the filling:
- 4 oz high quality white chocolate, coarsely chopped
- 4 T heavy cream
- 4 drops peppermint flavoring oil
- green food coloring
- Melt the chocolate in the microwave in 30 second bursts until almost melted (about 1 minute total). Stir until it is completely melted. Add 3 drops peppermint flavoring oil and stir to combine. Set aside.
In the bowl of a stand mixer, cream the butter with the sugars until light and fluffy. About 3 minutes. Add egg yolks and vanilla and beat until combined. Add the cooled chocolate and mix until combined. - Scrape down the sides of the bowl and add the flour, cocoa powder, and salt. Mix until just combined.
- In your filled cookie pan, press dough into each cavity, filling each cavity almost to the top. Bake at 350 for 8-10 minutes.
- Remove from oven and let cool for 5-10 minutes. Flip the pan upside down to release the cookies. Transfer to a cooling rack to cool completely.
- For the filling, heat the cream until it just barely boils. Remove from heat and pour over white chocolate. Stir until all the white chocolate is melted. Add peppermint flavoring oil and green food coloring. Spoon into the well of each cookie and let sit until it firms up. If desired drizzle some melted dark chocolate over the tops of each cookie.
*Recipe adapted from Baked Sunday Mornings


Leave a Reply