Chocolate is divine. Whether it’s the cheap stuff from the candy aisle of the grocery store or the fancy goods from a professional chocolatier, the melt-in-your-mouth goodness is an essential part of the holiday season. But what about homemade chocolate? It’s pretty much law that everything homemade just tastes better, after all. So, how hard is it to make chocolate candy yourself?
In truth, it just takes practice! Just imagine how much more special the holidays will be when you’re able to treat your loved ones to chocolate goodies you made yourself. Plus, homemade = so much more freedom in the realm of flavors and customizations. What decadence.
With research, practice, and maybe a cooking class or two, you too can learn how to make your very own homemade chocolate. Here are some of our top chocolate candy making tips to make the learning curve easier for you and set you on the path to becoming the chocolatier of your family.
Do You Need To Use Raw Cacao Beans?
So, if you hear homemade chocolate, you might be worried that this means you’ll be working with raw cacao beans. Sounds complicated, doesn’t it?
You can breathe a sigh of relief here, because even professional chocolatiers rarely process raw cacao beans themselves. They leave this to processing plants and then stick to chocolate right from the bean.
Invest In High-Quality Chocolate
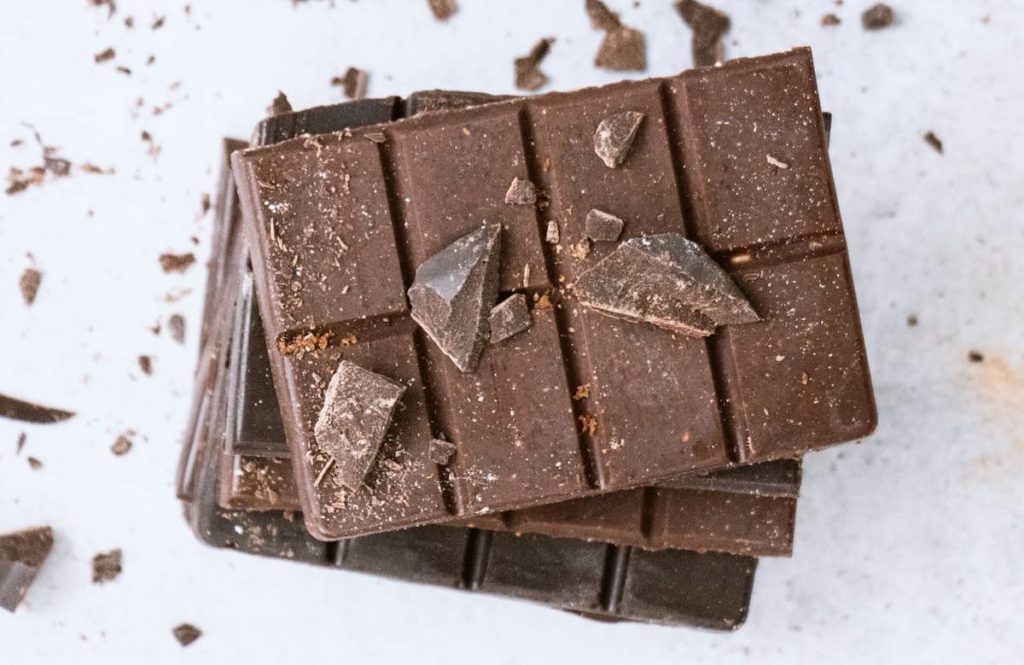
Sure, you can use the same semi-sweet chocolate chips that you’d dump in your chocolate cookies for your chocolate candy making. However, these can be thick and difficult to work with. For an easier time with your chocolate candy making, don’t be afraid to invest in higher-quality chocolate. Not only will higher-end chocolates be easier to work with than the commercial chocolate you snack on, but the end result can be so much tastier.
However, if you don’t want to use high-end chocolate, you can still have success with your homemade chocolate! Just know that it will likely be a more difficult process.
Keep Coconut Oil Nearby
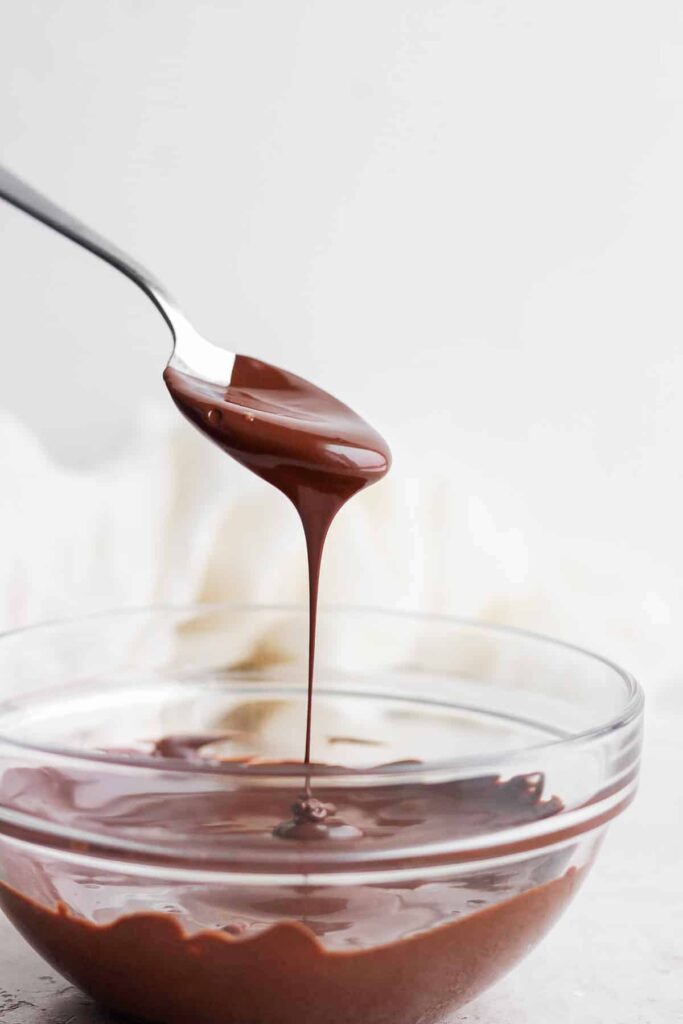
You know how we just mentioned how if you use a cheaper, commercial chocolate, it will likely be thicker and more challenging to work with? Coconut oil is your friend here. If your chocolate gets too thick, you can add a bit of coconut oil to it in order to thin it out.
Don’t like coconut oil or have an allergy? No worries, there are other options you can use instead. Butter, olive oil, neutral oil, and cocoa butter can all take the place of coconut oil, and many people are more likely to have butter or an oil on hand anyway.
Why do you need to use coconut oil (or a substitute) when making chocolate? You need a binding agent when you make chocolate in order to keep it from melting. Unless you have chocolate ice cream or something like that, chocolate is usually room temperature. Having a binding agent keeps your chocolate solid at room temperature.
Mind Your Climate
Where you live can very much impact the tempering process (aka, how you heat and cool the chocolate in order to harden it into a uniform structure). High temperatures and humidity levels can be difficult to work in while cooler climate or parts of the day can make your life easier.
Tempering is important in order to ensure that your homemade chocolate has a nice smooth texture and shine to it. If your chocolate isn’t tempered properly, you could end up with sticky, soft, or cloudy chocolate. While sometimes people get creative with their chocolates and have fancy cloud-like swirls in them, that’s very different from the cloudiness that results from chocolate that hasn’t been tempered properly.
Hold Your Molds Up To The Light
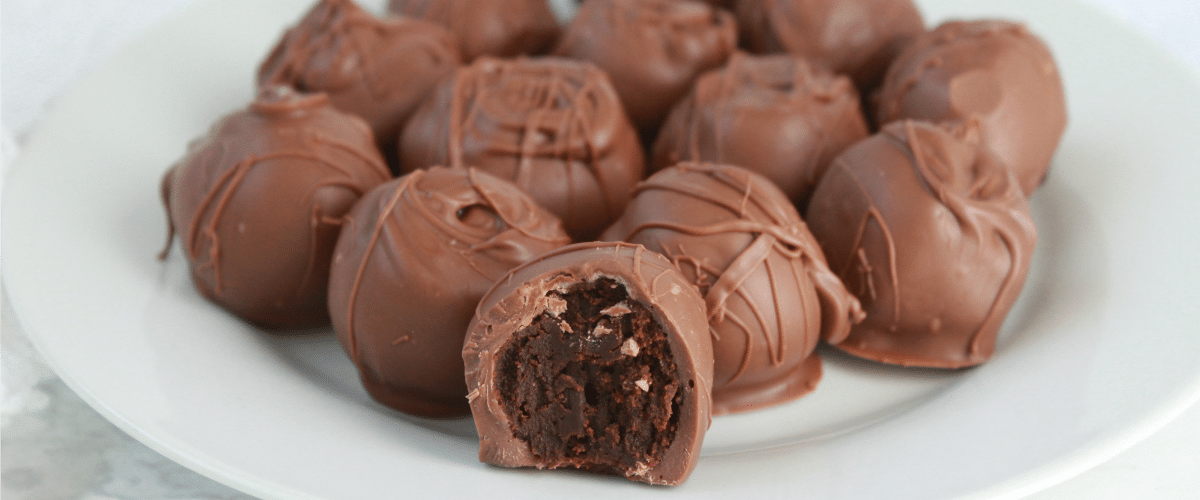
This will help you to find any holes in the chocolate that you can then fill in in order to ensure that there’s no fear of the filling oozing out. You can do so much when it comes to molding your chocolate, from fun horse shapes to traditional truffle balls. But in order to ensure that your homemade chocolate come out well, the chocolate needs to fill the mold well.
Once you’ve ensured that there are no holes, let it set in the freezer, and added any desired filling with the chocolate over top, you pop them back in the freezer. Then, you can just tap them out. It’s important to ensure that you work quickly with molds for the best results.
Do You Want To Learn More Chocolate Candy Making Tips?
We could go on and on and on about homemade chocolate, but there’s not enough room in this blog for that! If you’d like to give homemade chocolate a go, we have the supplies you need to get started. Keep an eye on our cooking classes page, as we often do cooking classes centered around fun things like this.
To learn more about our products and cooking classes, please do not hesitate to contact us at Kitchen Kneads today!








Leave a Reply