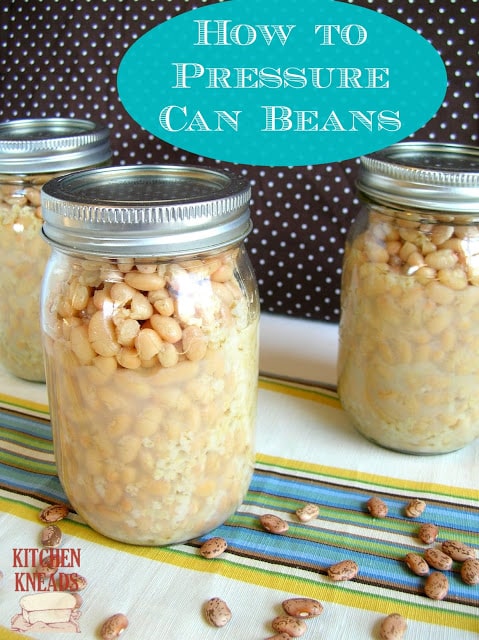
How to Pressure Can Dry Beans
Beans are an excellent source of lean protein and fiber and they have next to no fat and zero cholesterol. But cooking with beans can be a bit challenging because they take so much time to cook. Well, what about canned beans? They’re loaded with sodium and who knows what else.
 For those looking to take better control of what you put in your body, but don’t like taking the time to cook dry beans, here’s your solution: pressure can them.
By pressure canning dry beans in pint jars, you have the convenience of canned beans without all the not-so-good for you things in commercially canned beans. Add to that the cost. A jar of home-canned beans is so much cheaper, weighing in at about $.30 per can.
 The Secret Ingredient
What about those of you who like beans, but don’t like the gassy part of it? By canning your own beans you can add a secret ingredient to resolve that problem. You see, beans have five sugars. Two of those sugars get along and three of them get along, but the two don’t get along with the three and that’s where the gas comes in. But by adding millet into the mix, the sugars balance out and all five get along, thus resolving that horrible gas. Problem solved.
How to Pressure Can Dry Beans
What you’ll need:
- Pint Jars
- Canning Rings and Lids
- Dry Beans
- Millet
- Canning Salt or Sea Salt
- Pressure Canner or Pressure Cooker
What to do:
- Start out by putting 1/2 cup of dry beans (any bean you like) into a pint jar.

- Add 1 1/2 tsp. millet
- Fill the jar with water and let the beans soak for 24 hours.
- After 24 hours, add 1/2 tsp. canning or sea salt.
- Top off the jar with water if needed. The jar should be full to the neck.
- Put a canning lid and ring on each jar and tighten.
- Place the jars in your pressure canner or pressure cooker. Note that if you use a pressure cooker and not a pressure canner the only difference is the number of jars you can process at a time. Everything else stays the same.
- Fill your pressure canner or cooker with water to just above the tops of the jars.
- Seal the lid and bring up to 15 lbs. pressure.
- Once up to pressure, process for 60 minutes.
Done! Now you have wonderfully home-canned beans that you can use anywhere a recipe calls for a can of beans.
Don’t worry about the cloudiness in the jar. It may not be very pretty, but it’s just what the millet does.


Jenna Todd says
Hello – I know this post is almost 10 years old. I was just wondering if this is still a method you use to pressure can beans. I cannot find any other info for this method and would love any insight years later. Thanks so much.
Alan Crane says
Yes. We have been pressure cooking for over 50 years and still use many of the older methods.